yandex image

GET OUR BEST DEAL OFFER FOR YOUR BUSINESS

We offer top of the line surveillance and security solutions, so you can always stay informed about what’s happening around your business property.

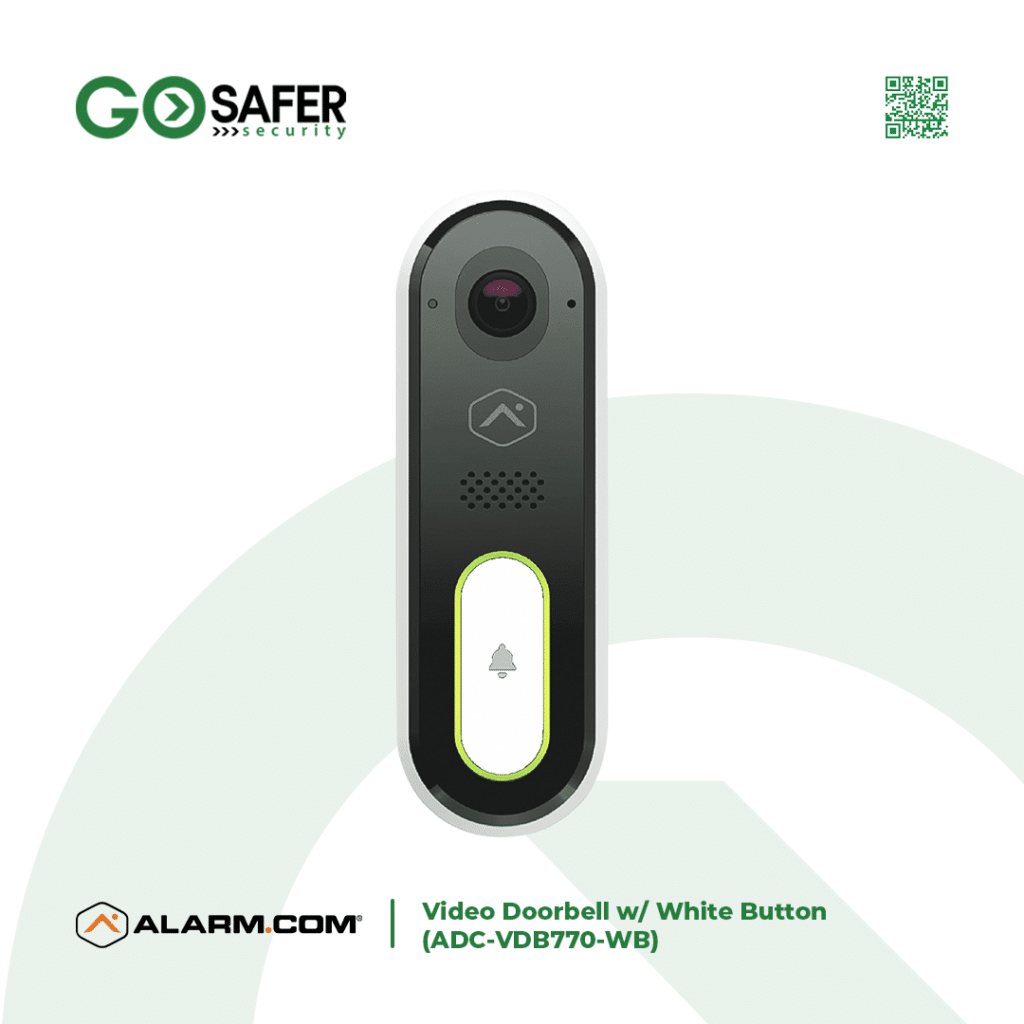
1 Alarm.com Video Doorbell w White Button ADC VDB770 WB

Video Doorbell w/ White Button (ADC-VDB770-WB)

$ 151.69

Alarm.com Video Doorbell with White Button, best for doors with direct sunlight exposure.

The ADC-VDB770, the latest addition to Alarm.com’s Design Studio Series product line, is a next-generation video doorbell camera that boasts an impressive 150° vertical Field of View (FOV). This wide coverage enables comprehensive monitoring of the entire doorway area. With features like Two-Way Audio and full portrait viewing in the app, interacting with and observing visitors is more convenient than ever.

Features:

  • Expansive FOV (150° V, 115° H)
  • Full HD (1440 x 1920) video resolution
  • High dynamic range (HDR)
  • IR night vision
  • Video Analytics on the edge for faster, more relevant alerts
  • Live video and saved clip viewing
  • Two-Way Audio through the mobile app
  • Battery heater for low-temperature operation
  • 2×2 antenna for improved Wi-Fi range
  • Compatible with existing doorbell transformers (requires 16-30 VAC, 10 VA)
  • Compatible with mechanical and digital chimes

  1. Remove the existing doorbell from the wall and disconnect the wires. Secure the wires so that they can be connected in a later step.
  2. At the installation location, an angled mounting bracket can be used to modify the field of view. Choose a mounting bracket type best suited for your installation setup. Installation scenarios corresponding to mounting bracket types A, B, and C are provided below to guide your decision.
  3. Thread the existing wires through the mounting bracket. Install the mounting bracket to the wall using the included wall screws (and anchors, if needed for the mounting surface).
  4. Thread the wire extenders through the backplate. Remove the wire caps.
  5. Crimp the two wires coming through the backplate to the existing wires threaded through the mounting bracket.
  6. Install the doorbell backplate to the mounting bracket using the included machine screws.
  7. Attach the doorbell to the backplate by aligning and pushing together until it clicks into place and the connection is well sealed.
  8. Turn the electricity back on. Check that the doorbell camera’s light is flashing white after the boot process is complete.
[post_id]

Pin It on Pinterest

GRAB DEAL NOW

Fill up our Form and our Specialist will get back to you.

FREE QUOTATION

Fill up our Free Quotation Form and our Specialist will get back to you.

Are you business or Home Owner

Answer these question and get customized security solutions and offers.

I’m most interested in:

(select all that apply)

How many doors and windows do you need to protect?
Last thing. Let’s see if Go Safer Security is in your area!

Providing this information will allow us to see if we offer services in your area along with any special promotional offers.

Need A Free Quote for your Business?

What type of business do you have? This will help us determine the specific needs of your business and recommend cameras that are best suited for your industry.