Surveillance cameras have become an essential part of home and business security. They act as a deterrent to potential intruders and provide valuable evidence in case of any incidents. Installing and positioning your surveillance cameras correctly is crucial to maximize their effectiveness. In this guide, we will walk you through the entire process, from selecting the right camera to ensuring it covers the necessary areas efficiently.
Table of Contents
ToggleTypes of Surveillance Cameras
Wired vs. Wireless
When it comes to surveillance cameras, you have two primary options: wired and wireless. Wired cameras are connected to a power source and recording device through cables. They are known for their reliable connection but can be challenging to install. Wireless cameras, on the other hand, use Wi-Fi to transmit data. They are easier to install but can be susceptible to interference and hacking.
Indoor vs. Outdoor
Surveillance cameras are also categorized based on their placement. Indoor cameras are designed for use inside buildings and are not weatherproof. Outdoor cameras are built to withstand harsh weather conditions and often come with features like dust and water resistance.
Bullet, Dome, and PTZ Cameras
Bullet cameras are long and cylindrical, making them ideal for covering long distances. Dome cameras have a dome-shaped casing that offers a wider field of view and is less obtrusive. PTZ (Pan-Tilt-Zoom) cameras can be remotely controlled to pan, tilt, and zoom, providing comprehensive coverage of large areas.
Choosing the Right Surveillance Camera
Assessing Your Needs
Before purchasing a surveillance camera, it’s essential to assess your specific security needs. Consider factors like the size of the area you want to monitor, the level of detail required, and whether you need indoor or outdoor coverage.
Camera Features to Consider
Look for features such as high resolution, night vision, motion detection, and two-way audio. These features enhance the functionality of your cameras and ensure they provide clear and actionable footage.
Preparing for Installation
Tools and Equipment Needed
Gather all the necessary tools and equipment before starting the installation. This includes screws, anchors, a drill, a screwdriver, a ladder, and the camera’s mounting kit.
Planning Your Camera Layout
Plan the layout of your cameras by identifying the key areas you want to monitor. This step helps you determine the number of cameras needed and their optimal positions.
Installing Wired Surveillance Cameras
Running the Cables
Start by running the cables from your cameras to the recording device and power source. Ensure the cables are hidden or protected to prevent tampering.
Connecting to Power and Network
Connect the cameras to their power sources and network. For wired cameras, this typically involves plugging the cables into a DVR (Digital Video Recorder) or NVR (Network Video Recorder).
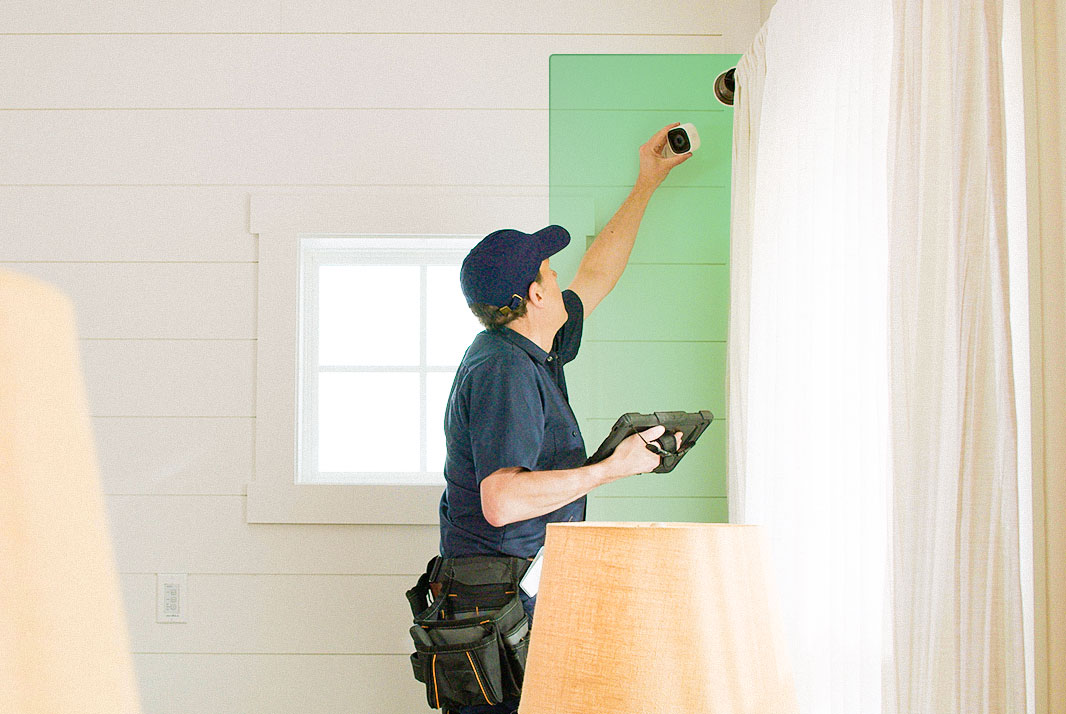
Mounting the Cameras
Mount the cameras securely on walls or ceilings using the provided brackets and screws. Adjust their angles to cover the desired areas effectively.
Installing Wireless Surveillance Cameras
Setting Up the Wireless Network
Ensure your wireless network is robust and secure. Position your router to provide the best signal strength to all camera locations.
Syncing the Cameras with the Network
Follow the manufacturer’s instructions to sync the cameras with your wireless network. This usually involves using a mobile app or web interface.
Mounting the Cameras
Mount the wireless cameras as you would with wired ones. Ensure they are within range of your Wi-Fi network to avoid connectivity issues.
Positioning Your Surveillance Cameras
Optimal Camera Height
Position your cameras at a height of 8-10 feet. This height is ideal for capturing clear images of people’s faces while preventing tampering.
Coverage Areas and Blind Spots
Ensure your cameras cover all critical areas without leaving blind spots. Overlapping fields of view between cameras can help eliminate blind spots.
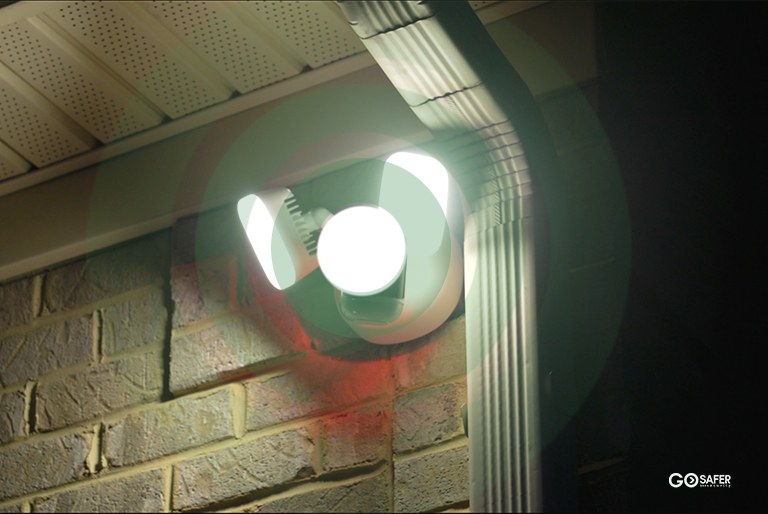
Avoiding Glare and Reflections
Avoid positioning cameras directly facing bright light sources. Use shades or angle adjustments to minimize glare and reflections.
Indoor Camera Placement Tips
Entrances and Exits
Place cameras at all entrances and exits to monitor who comes and goes. This includes front and back doors, as well as garage entrances.
High-traffic Areas
Monitor high-traffic areas like living rooms, hallways, and staircases. These areas are likely pathways for intruders.
Sensitive Locations
Consider placing cameras in sensitive locations such as home offices or rooms with valuables. Ensure these cameras are discreet to avoid detection.
Outdoor Camera Placement Tips
Covering Entry Points
Outdoor cameras should cover all entry points, including doors and windows. This deters intruders and provides clear footage of anyone attempting to enter.
Monitoring Parameters
Install cameras to monitor the perimeter of your property. This helps in detecting suspicious activities before intruders reach the house.
Weather Considerations
Choose weatherproof cameras for outdoor use. Ensure they have proper enclosures to protect against rain, snow, and extreme temperatures.
Ensuring Privacy and Compliance
Legal Considerations
Be aware of the legal requirements for surveillance in your area. This includes regulations on recording in public spaces and using audio surveillance.
Respecting Neighbor Privacy
Position your cameras to avoid intruding on your neighbors’ privacy. Angling cameras away from neighboring properties can prevent conflicts.
Signage and Notifications
Consider using signage to notify visitors that they are under surveillance. This is often a legal requirement and can also act as a deterrent.
Testing Your Surveillance System
Initial Setup and Configuration
After installation, configure your system according to the manufacturer’s instructions. This includes setting up recording schedules and alert notifications.
Checking Video Feeds
Check all video feeds to ensure the cameras are working correctly. Adjust the angles and settings as needed for optimal coverage.
Adjusting Camera Angles
Fine-tune the camera angles to ensure they cover the intended areas without obstructions. This may require a few iterations to get right.
Maintenance and Troubleshooting
Regular Maintenance Tips
Perform regular maintenance to keep your cameras in good working condition. Clean the lenses, check for firmware updates, and ensure all connections are secure.
Common Issues and Solutions
Be prepared to troubleshoot common issues such as connectivity problems, poor image quality, and power failures. Refer to the user manual or contact support for assistance.
Integrating with Home Security Systems
Benefits of Integration
Integrating your surveillance cameras with a home security system enhances your overall security. This allows for features like automated alerts and centralized control.
How to Integrate
Follow the manufacturer’s instructions to integrate your cameras with your existing security system. This may involve using specific software or hardware components.
Advanced Features and Upgrades
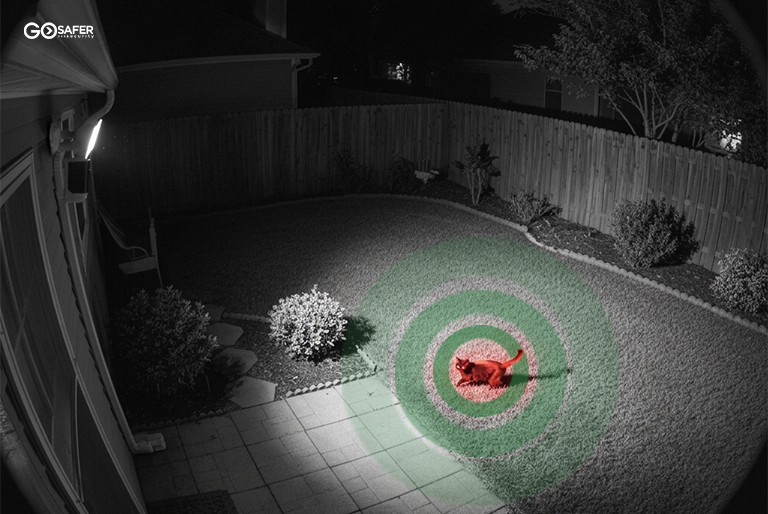
Night Vision
Consider upgrading to cameras with night vision capabilities for better visibility in low-light conditions.
Motion Detection
Motion detection features can alert you to any movement within the camera’s field of view, improving security and reducing false alarms.
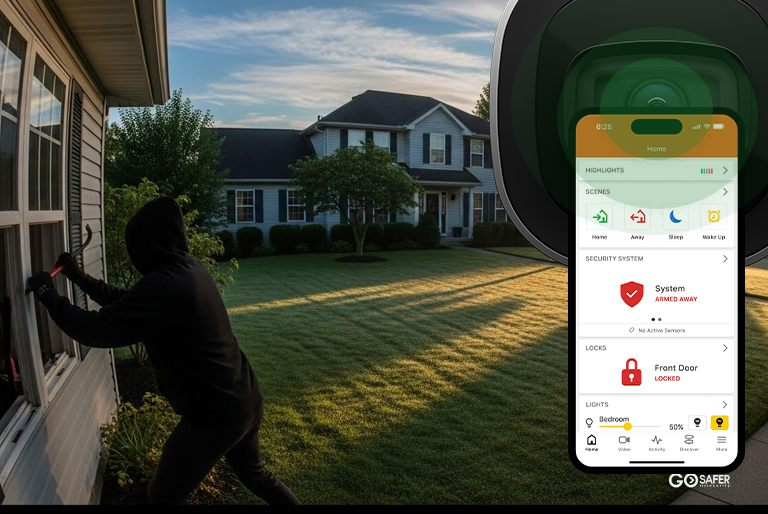
Remote Access
Choose cameras that offer remote access via mobile apps or web interfaces. This allows you to monitor your property from anywhere.
Conclusion
Choose cameras that offer remote access via mobile apps or web interfaces. This allows you to monitor your property from anywhere.