When it comes to protecting your home or small business, the way you install your security system is just as important as the system itself. A poorly installed alarm, camera, or smart lock won’t provide the protection you expect. On the other hand, following best practices ensures your investment delivers peace of mind, safety, and long-term reliability.
In this guide, you’ll learn the key best practices for installing a security system, including planning, proper placement, compliance, and ongoing maintenance, so you can keep your property safe and secure.
Table of Contents
ToggleWhy Proper Installation Matters
Imagine buying the best security system money can get, only to install cameras at the wrong angles or forget to secure your alarm’s backup power. The result? A false sense of security.
For homeowners, that could mean an intruder slips by unnoticed. For small businesses, it could mean lost merchandise or liability issues. Proper installation ensures:
- Full coverage of vulnerable entry points
- Reliable performance during emergencies
- Compliance with local laws and insurance requirements
Step 1: Start with a Security Assessment
Before installing anything, assess your property. Walk around your home or business and note:
- Entry points: doors, windows, garages
- Blind spots: areas cameras might miss
- High-value zones: safes, storage areas, or offices
This assessment gives you a roadmap for placing cameras, alarms, and sensors strategically instead of randomly.
Step 2: Choose the Right System for Your Needs
Not every system is right for every space. Consider:
- DIY systems – Budget-friendly, quick setup, but may lack professional monitoring.
- Professionally installed systems – More reliable, with expert placement and support.
- Hybrid solutions – DIY installation with professional monitoring services.
For small businesses, professional systems are often best, especially if compliance and insurance discounts are a priority.
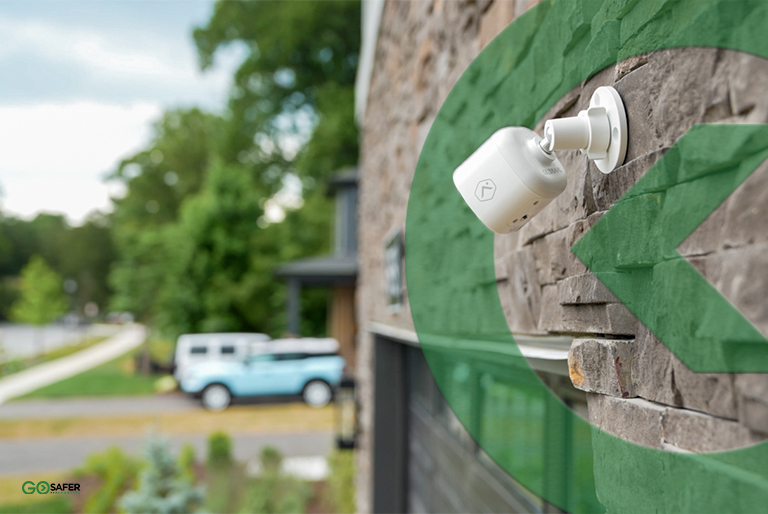
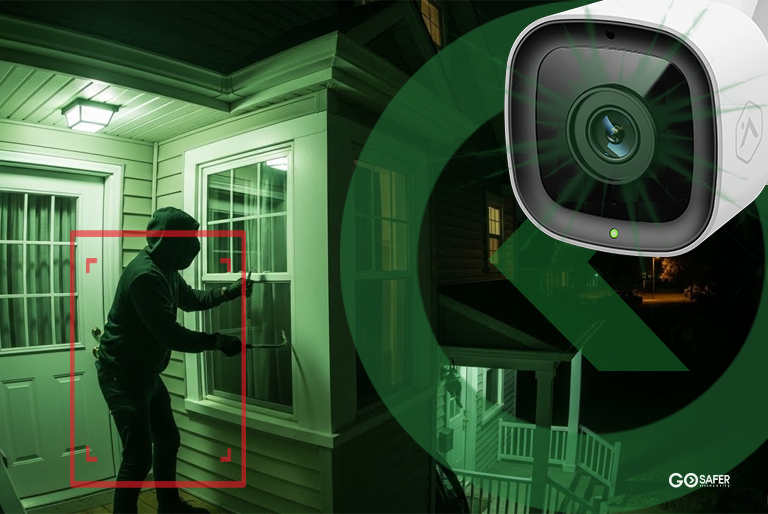
Step 3: Camera Placement Best Practices
Cameras are only useful if they’re installed in the right spots. Follow these tips:
- Cover main entrances, back doors, and ground-floor windows.
- Angle cameras to avoid blind spots and reduce glare from lights.
- Mount cameras high enough to prevent tampering but low enough for clear images.
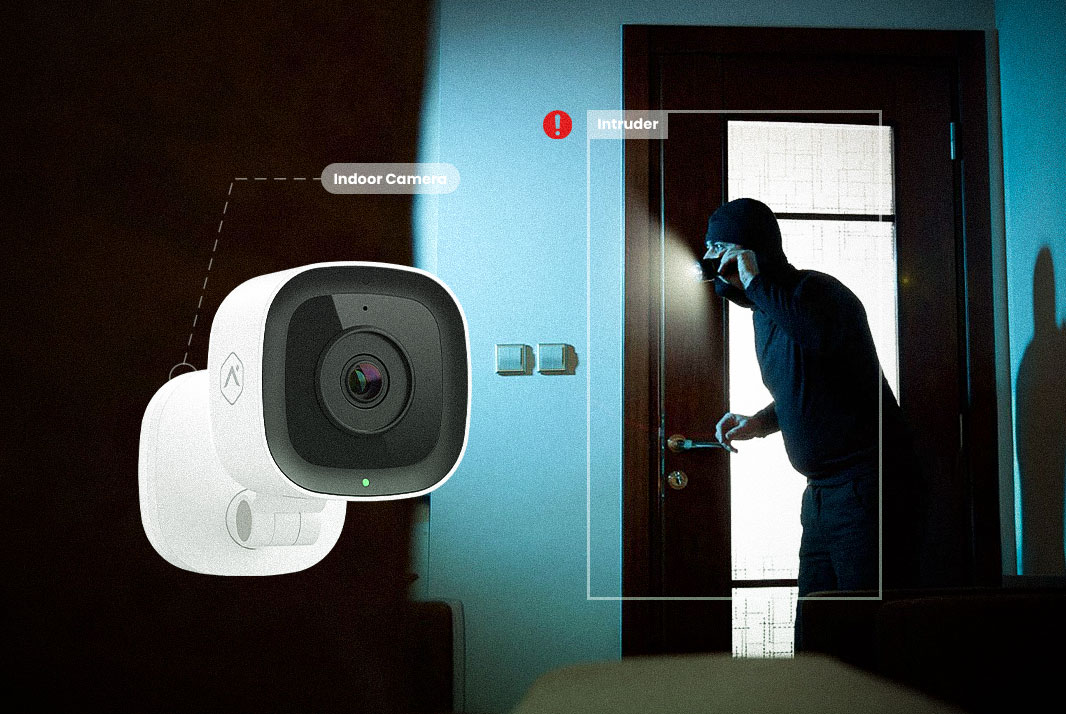
- Consider indoor cameras for lobbies, hallways, or inventory rooms.
Pro tip: Avoid placing cameras where privacy laws could be an issue, like bathrooms or neighbor-facing windows.
Step 4: Alarm System Best Practices
Your alarm system is the heart of your security setup. To maximize effectiveness:
- Place sensors on all exterior doors and ground-level windows.
- Use motion detectors in central hallways and main gathering areas.
- Always install backup batteries to keep the system running during power outages.
- Test alarms regularly to ensure they’re fully functional.
Step 5: Legal and Compliance Considerations
Especially for businesses, compliance is key. Many states, including Maryland, have laws around surveillance systems. Best practices include:
- Posting clear signage if cameras are in use.
- Avoiding audio recording unless legally permitted.
- Following storage guidelines for recorded footage.
Failing to comply could lead to fines or lawsuits something no small business owner wants.
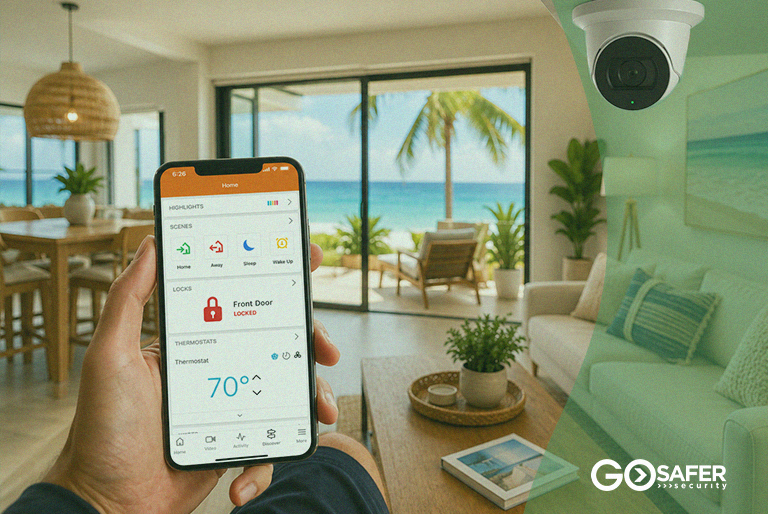
Step 6: Smart Integration for Better Security
Modern systems are smarter than ever. Integrate your security with:
- Smart lighting – Lights triggered by motion deter intruders.
- Mobile apps – Remote access lets you monitor your property anytime.
- Access control – Smart locks or keypads keep businesses secure without old-fashioned keys.
This not only boosts security but also adds convenience for daily use.
Step 7: Cybersecurity for Security Systems
It sounds ironic, but your security system itself needs protection. Hackers can exploit weak devices, so always:
- Change default passwords
- Update firmware regularly
- Use encrypted connections for remote access
- Segment IoT devices on separate networks
For small businesses, IT and security teams should work together to minimize risks.
Step 8: Testing and Maintenance
Installing your system is just the beginning. Regular maintenance ensures everything works when you need it most. Best practices include:
- Monthly alarm and camera testing
- Replacing alarm batteries every 6–12 months
- Cleaning camera lenses for clear images
- Scheduling professional checkups annually
Step 9: Employee & Family Training
Even the most advanced system fails if people don’t know how to use it. Take time to:
- Teach employees or family members how to arm/disarm alarms
- Share emergency protocols (what to do if an alarm goes off)
- Train staff on access control systems
Human error is one of the biggest weaknesses in security, so proper training is essential.
Step 10: Partnering with Professionals
While DIY is tempting, many homeowners and small business owners find value in professional installation. Experts know how to:
- Eliminate blind spots
- Ensure compliance with local regulations
- Provide 24/7 monitoring services
Even if you install your system yourself, consider professional monitoring to ensure backup when you’re unavailable.
Conclusion
A strong security system isn’t just about high-tech equipment; it’s about installing and maintaining it the right way. From smart camera placement and legal compliance to cybersecurity protections and ongoing training, following best practices ensures your home or small business stays safe.
Whether you go DIY or hire professionals, remember: your system is only as strong as its installation. Invest the time upfront, and you’ll enjoy peace of mind for years to come.