Table of Contents
ToggleNavigating the Challenges of Screwless Security Camera Installation
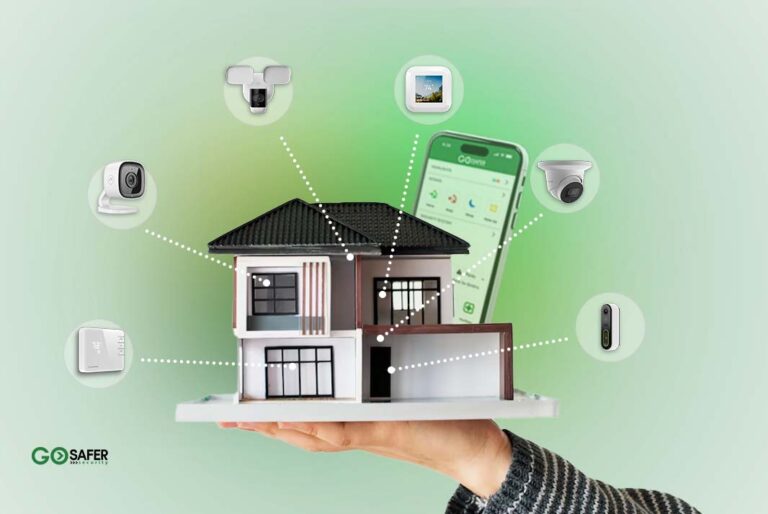
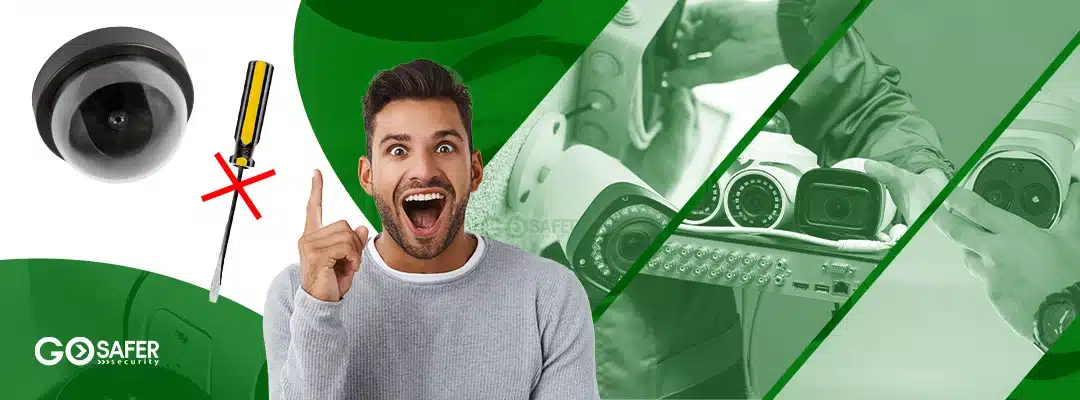
In an era where home security is paramount, the advent of security cameras has been a game-changer for homeowners seeking peace of mind. However, the installation process can often be daunting, especially when it involves drilling holes and using screws, which might not always be feasible or desirable. This guide explores alternative methods for mounting security cameras without screws, ensuring your home remains secure without permanent alterations.
Alternative Mounting Solutions for Security Cameras
Adhesive Strips and Mounts:
One of the simplest and most effective ways to install security cameras without screws is by using adhesive strips or mounts. These products are designed to hold significant weight and can be easily removed without leaving marks or damage. It’s crucial to ensure the surface is clean and dry before application to guarantee a strong bond.
Magnetic Mounts:
For metal surfaces or where a more flexible installation is needed, magnetic mounts offer an excellent solution. These mounts allow for easy adjustment and repositioning of the camera, making them ideal for renters or those who frequently change their security setup.
Clamp Mounts:
Clamp mounts can be attached to railings, shelves, or even branches without the need for screws. This option provides versatility in camera placement, allowing homeowners to secure their property from various angles without drilling.
Suction Cup Mounts:
Suction cup mounts are perfect for smooth surfaces like windows or tiles. They offer a temporary mounting solution that can be easily moved or removed, ideal for monitoring different areas of your home at different times.
Ensuring a Secure Installation
While screwless options provide convenience and flexibility, it’s essential to ensure the security camera is mounted securely to prevent it from falling or being tampered with. Regularly check the mount’s integrity and consider using security cables or tethers as an additional safeguard.
Professional Installation Services
For those who prefer not to undertake the installation themselves, professional services are available. These experts can recommend the best mounting solutions for your specific needs and ensure your security cameras are installed correctly and securely. Learn more about the benefits of professional installation in our article, Install Security Cameras Myself or Need Professional?
Integrating Cameras into Your Smart Home System
Modern security cameras often come with smart home integration capabilities, allowing you to control and monitor your security system seamlessly from your smartphone or smart home hub. Discover how to enhance your home security system with smart technology in our guide, Integrate Wireless Security Cameras with Smart Home Systems.
Choosing the Right Security Camera
Selecting the appropriate security camera is crucial for effective home surveillance. Consider factors such as indoor vs. outdoor use, field of view, resolution, and smart features. For a comprehensive overview of available options, check out our selection of Commercial and Residential Security Cameras.
Conclusion
Mounting security cameras without screws is not only possible but also offers a range of benefits, including flexibility, ease of installation, and minimal impact on your property. By exploring alternative mounting solutions and considering professional installation services, you can enhance your home security system’s effectiveness while maintaining the integrity of your home’s structure. Stay informed and secure by keeping up with the latest in home security innovations and best practices.